Thursday, February 27, 2014

The Hamshire, part 3

Ok,  so, things are slowly moving along with 
The Hamshire! 
I do have work,  and a FEW other projects I'm working on
( and laundry..and dishes.....)
this is what I've done so far!!
First I bought some thick foam core, and some regular foam core ( at Michael's) .


 Then I drew a kinda -sorta tree shape on the thin foam core, cut it out with an exacto knife, traced it onto the thicker foam core and also onto a piece of thick cardboard. I cut out the cardboard shape with scissors.
 I did not cut out the thick foam core because this will be the base.


the extra foam core I cut into strips as high as i wanted the stump to be, then cut it about 2/3rds the way up...totally arbitrary height, and grabbed the glue gun


I glued the longer strips around the traced line which will be the bottom of the stump, remembering to leave open where I wanted to place any doors or window. I left the back without any foam core strips, because I want to leave that part open.


 next I glued the thin foam core tree shape to the top of the strips, glued the shorter foam core strips around the edges, and glued the cardboard piece on top of all that
 (this will be the roof, or top of the stump) 
because there were neither blankets nor food involved, 
Butters was not at all impressed with my contraption


that's it so far!!
 any comments? any at all??
until next time....I am....closer to the edge

Sunday, February 23, 2014

Hamshire part 2

ok, so I started Hamshire...just barely ....but you have to start somewhere, so I started with the door!
I used a small piece of craft wood, measured it and drew the door and door frame shape...
Then I cut it out....

I cut the bottom of the door short so I could make a stoop or landing....
then I sanded the edges.
With a dremel I carved grooves to look like boards into the door, then carved in some wood texture, then sanded LIGHTLY (so as not to sand out the texture I just put in).
I then painted the whole thing a darker brown tone, being sure to get the paint into the grooves, but NOT fill them in with paint.....I  dried it with the hair dryer then dry brushed a milk chocolate color with the side of a paint brush over the whole thing. I use the side of the brush so I just get paint on the raised parts of the wood, but not in the grooves,   deepens the textured look.


 then I added hinges, all that's left is a door knob of sorts!

any comments???anyone???
stay tuned!!!

Until then I am...as ever...closer to the edge....


Thursday, February 20, 2014

Hey Hey, just a quick post, I uploaded a short video of the little mouse with the ice cream cone in Paper Park, dancing! Check it out...(and comment....)

Wednesday, February 19, 2014

The Hamshire

 coming soon (ish)


 so,  okay I have a new thought in my head....
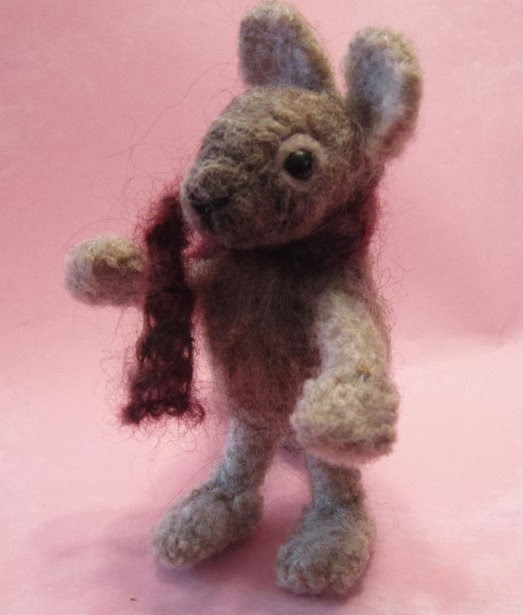
it started with these guys....
and now I want to build a smaller but more realistic set for them, and it will be 
The Hamshire 
( I've been playing a lot of lego LOTR)
of course the mice could use it too....
here are my sketches of it...

so sorta like a covered doorway into a tree, and windows....I havent started it yet but stay tuned!! Meanwhile the hamsters are pestering Butters...but you'll have to check out my instagram to see those pics!! (link at end of post)
and then...the mice got a new youtube video, its boring, but I have another one waiting to be made in my head...(it's pretty crowded in there...)
so check that out too!
Did you read this post? please comment!
Is the link to my page, all my other links are right there!!!
until next time...i am ever, closer to the edge...


Thursday, February 6, 2014

Mice n sets

Okay so, what have I been doing (besides shoveling)... I've been working on Mice, and sets! Well, just one big set, although I really would like to make several... I might have to move it all to the basement :(.....
here's some mice pics! I've even knit them tiny sweaters.


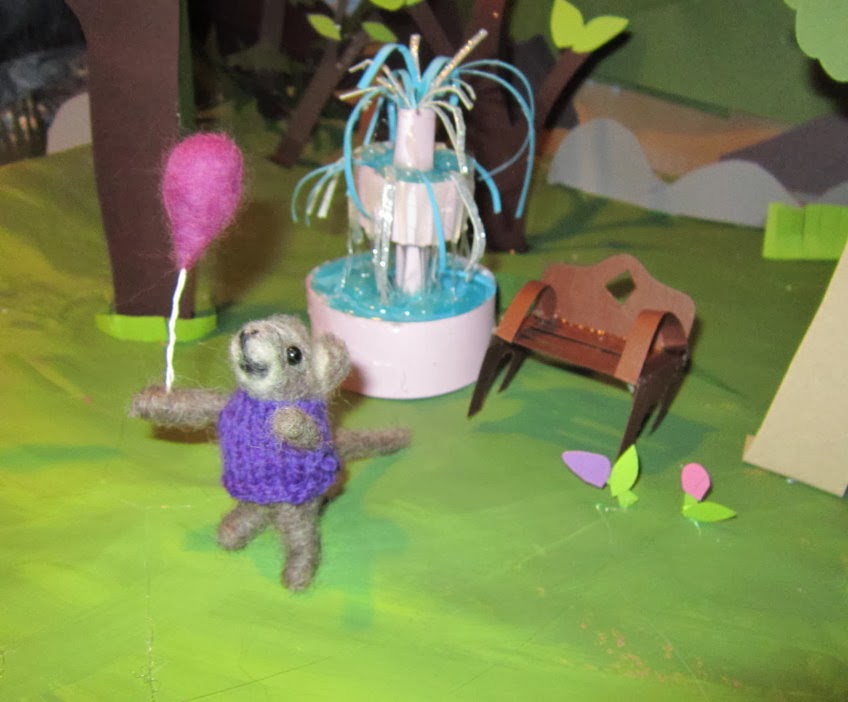
and here are pics of them on the paper set....


ahhh I especially like this one of the little mouse with her balloon and glue stick... hahaha

I keep thinking I want to expand this set thing...maybe make it more realistic, like a train set...but I don't know, I'm very conflicted about it. Any opinions?
In the next couple of Days I am "planning" on posting a how I make a mouse tutorial ( no, not like the felted bead one) but your know that goes!!!
anyway.......
time for .....FDCML!
Fancy:  hmmm this show, it's called Supernatural...ever hear of it?     
Detest: people texting in the car. FOCUS PEOPLE!
Creating: Mice, hamster and chipmunks
Mulling: train set, sets
Last movie I watched: Safety not guaranteed (recommended by Kirsten) pretty awesome!
 so with that, until the next post, Salt and burn people....i am ever....Closer to the Edge